Customer Portal Guide
Learn how to use your customer portal to request services, track progress, and communicate with our team
Getting Started
Creating Your Account
Our system uses passwordless authentication, which means you don't need to create or remember a password. Instead, we send you a one-time verification code each time you log in. This is more secure and convenient.
Step 1: Navigate to the Login Page
Click the Login link in the main navigation menu, or use the button below to go directly to the login page.
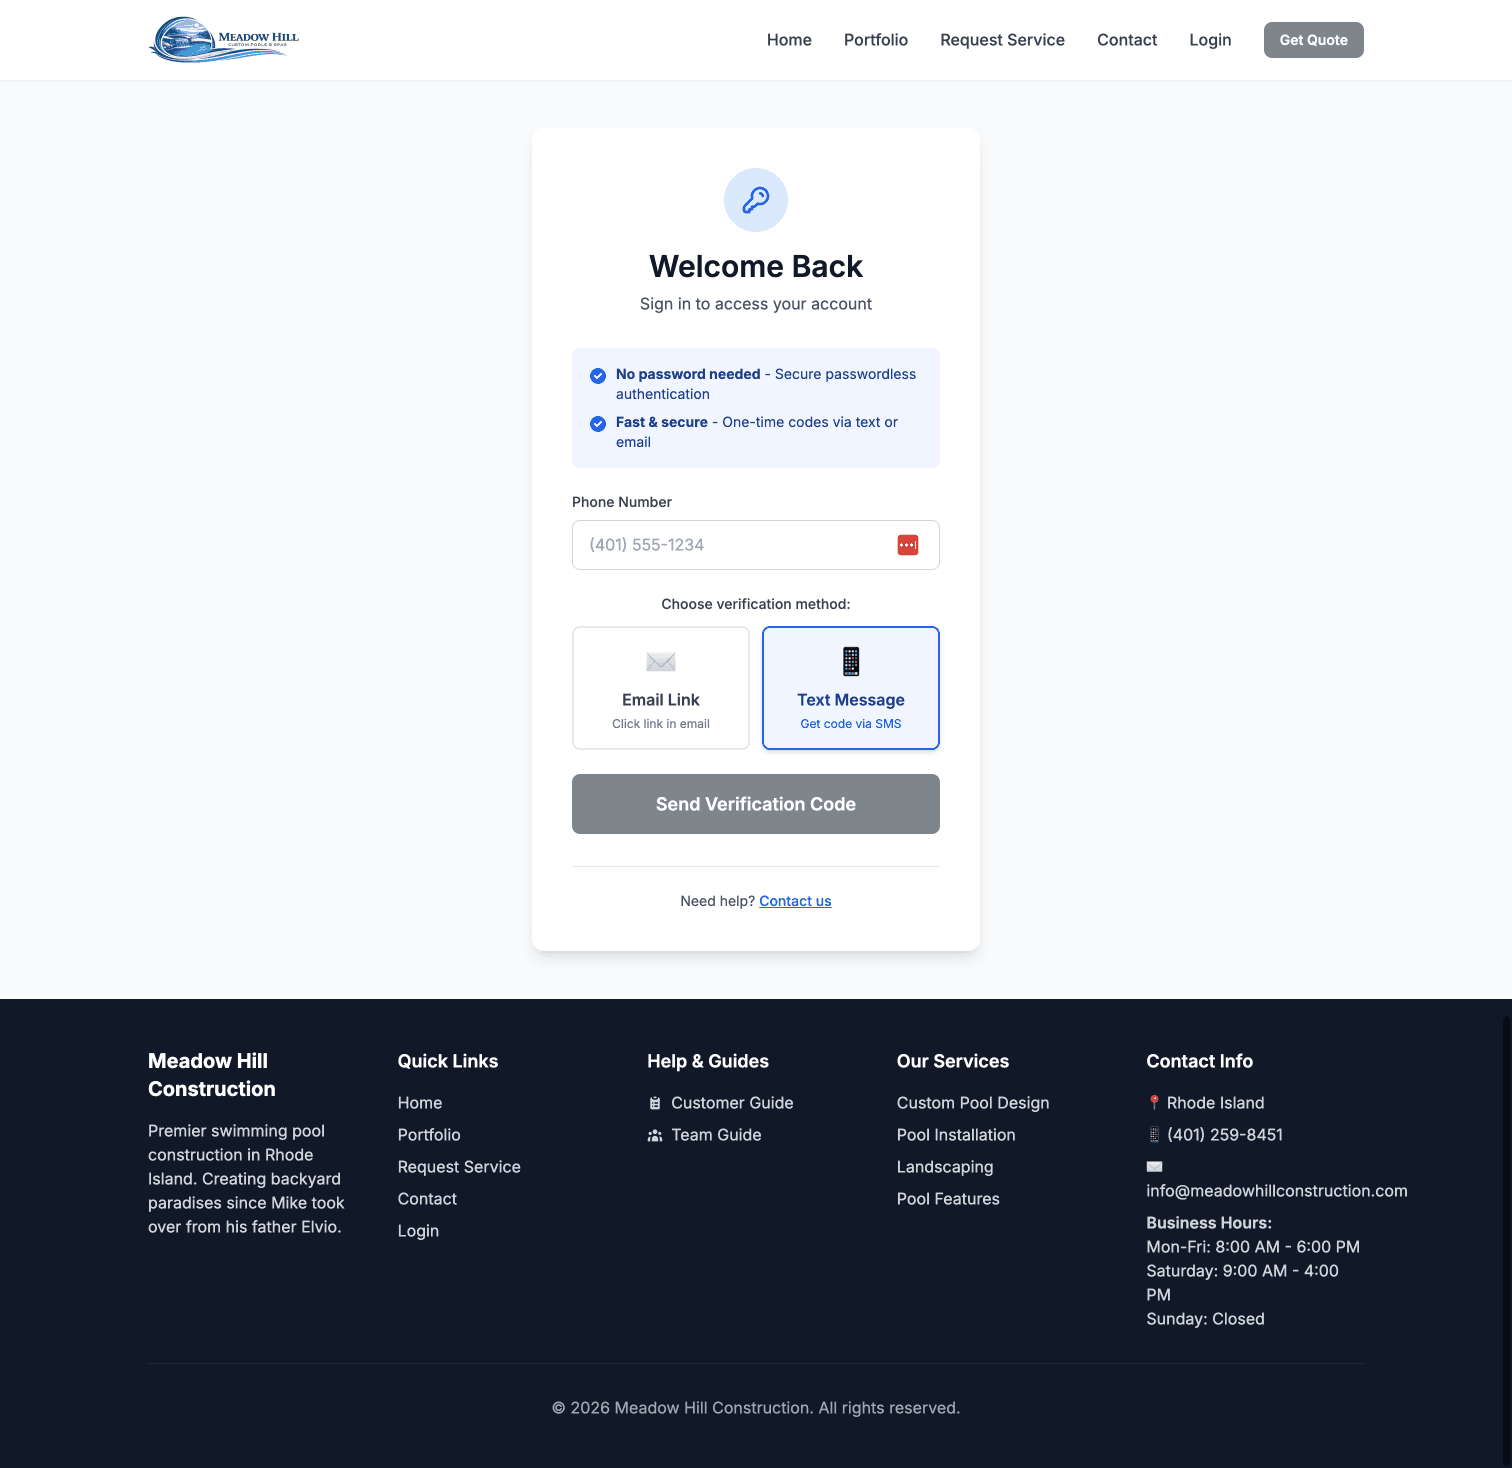
Login Page - Initial View
Step 2: Enter Your Email or Phone Number
On the login page, enter either your email address or phone number in the input field. The system will recognize which one you entered and send the verification code to that address.
Step 3: Choose Your Login Method
You have two options for receiving your verification code:
- Email Magic Link: Receive an email with a link you can click to log in instantly
- SMS Code: Receive a 6-digit code via text message that you'll enter on the next screen

Login Method Selection
Step 4: Enter the Verification Code
If you chose SMS Code, check your phone for a text message with a 6-digit code. Enter this code on the verification page. The code is valid for 10 minutes. If you don't receive it, you can request a new code.
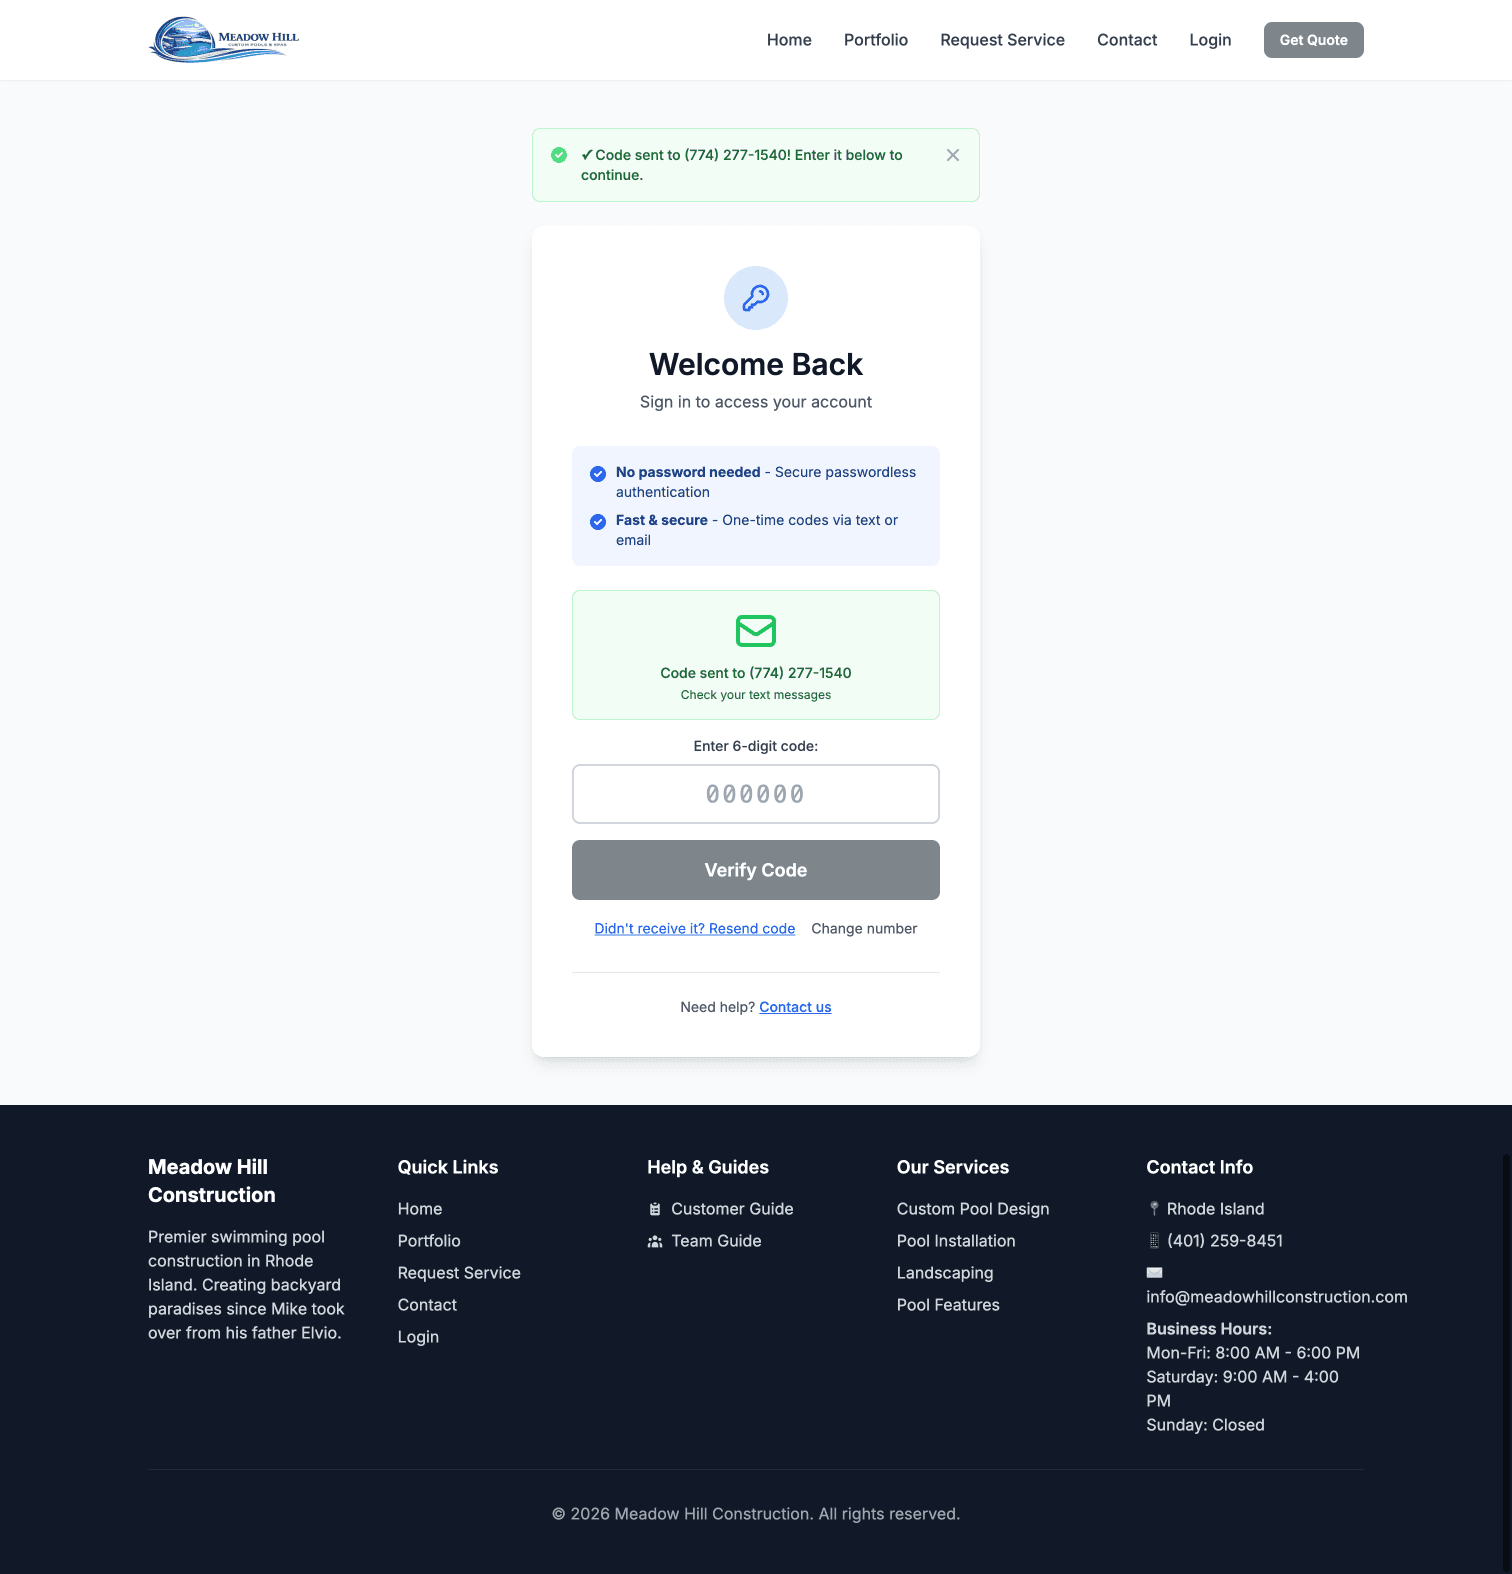
Enter Verification Code
Step 5: Complete Your Profile (First Time Only)
If this is your first time logging in, you'll be asked to complete your profile by entering your full name and confirming your contact information. This information will be used for your service requests.
Tip: No passwords to remember! Just use your email or phone number each time. It's fast, secure, and hassle-free.
Service Requests & Messaging
Requesting a Service
Whether you need a repair, maintenance, inspection, or seasonal service, you can submit a service request through your customer portal. Here's how:
Step 1: Go to Request Service Page
Click "Request Service" from the navigation menu or from your dashboard. This will take you to the service request form.
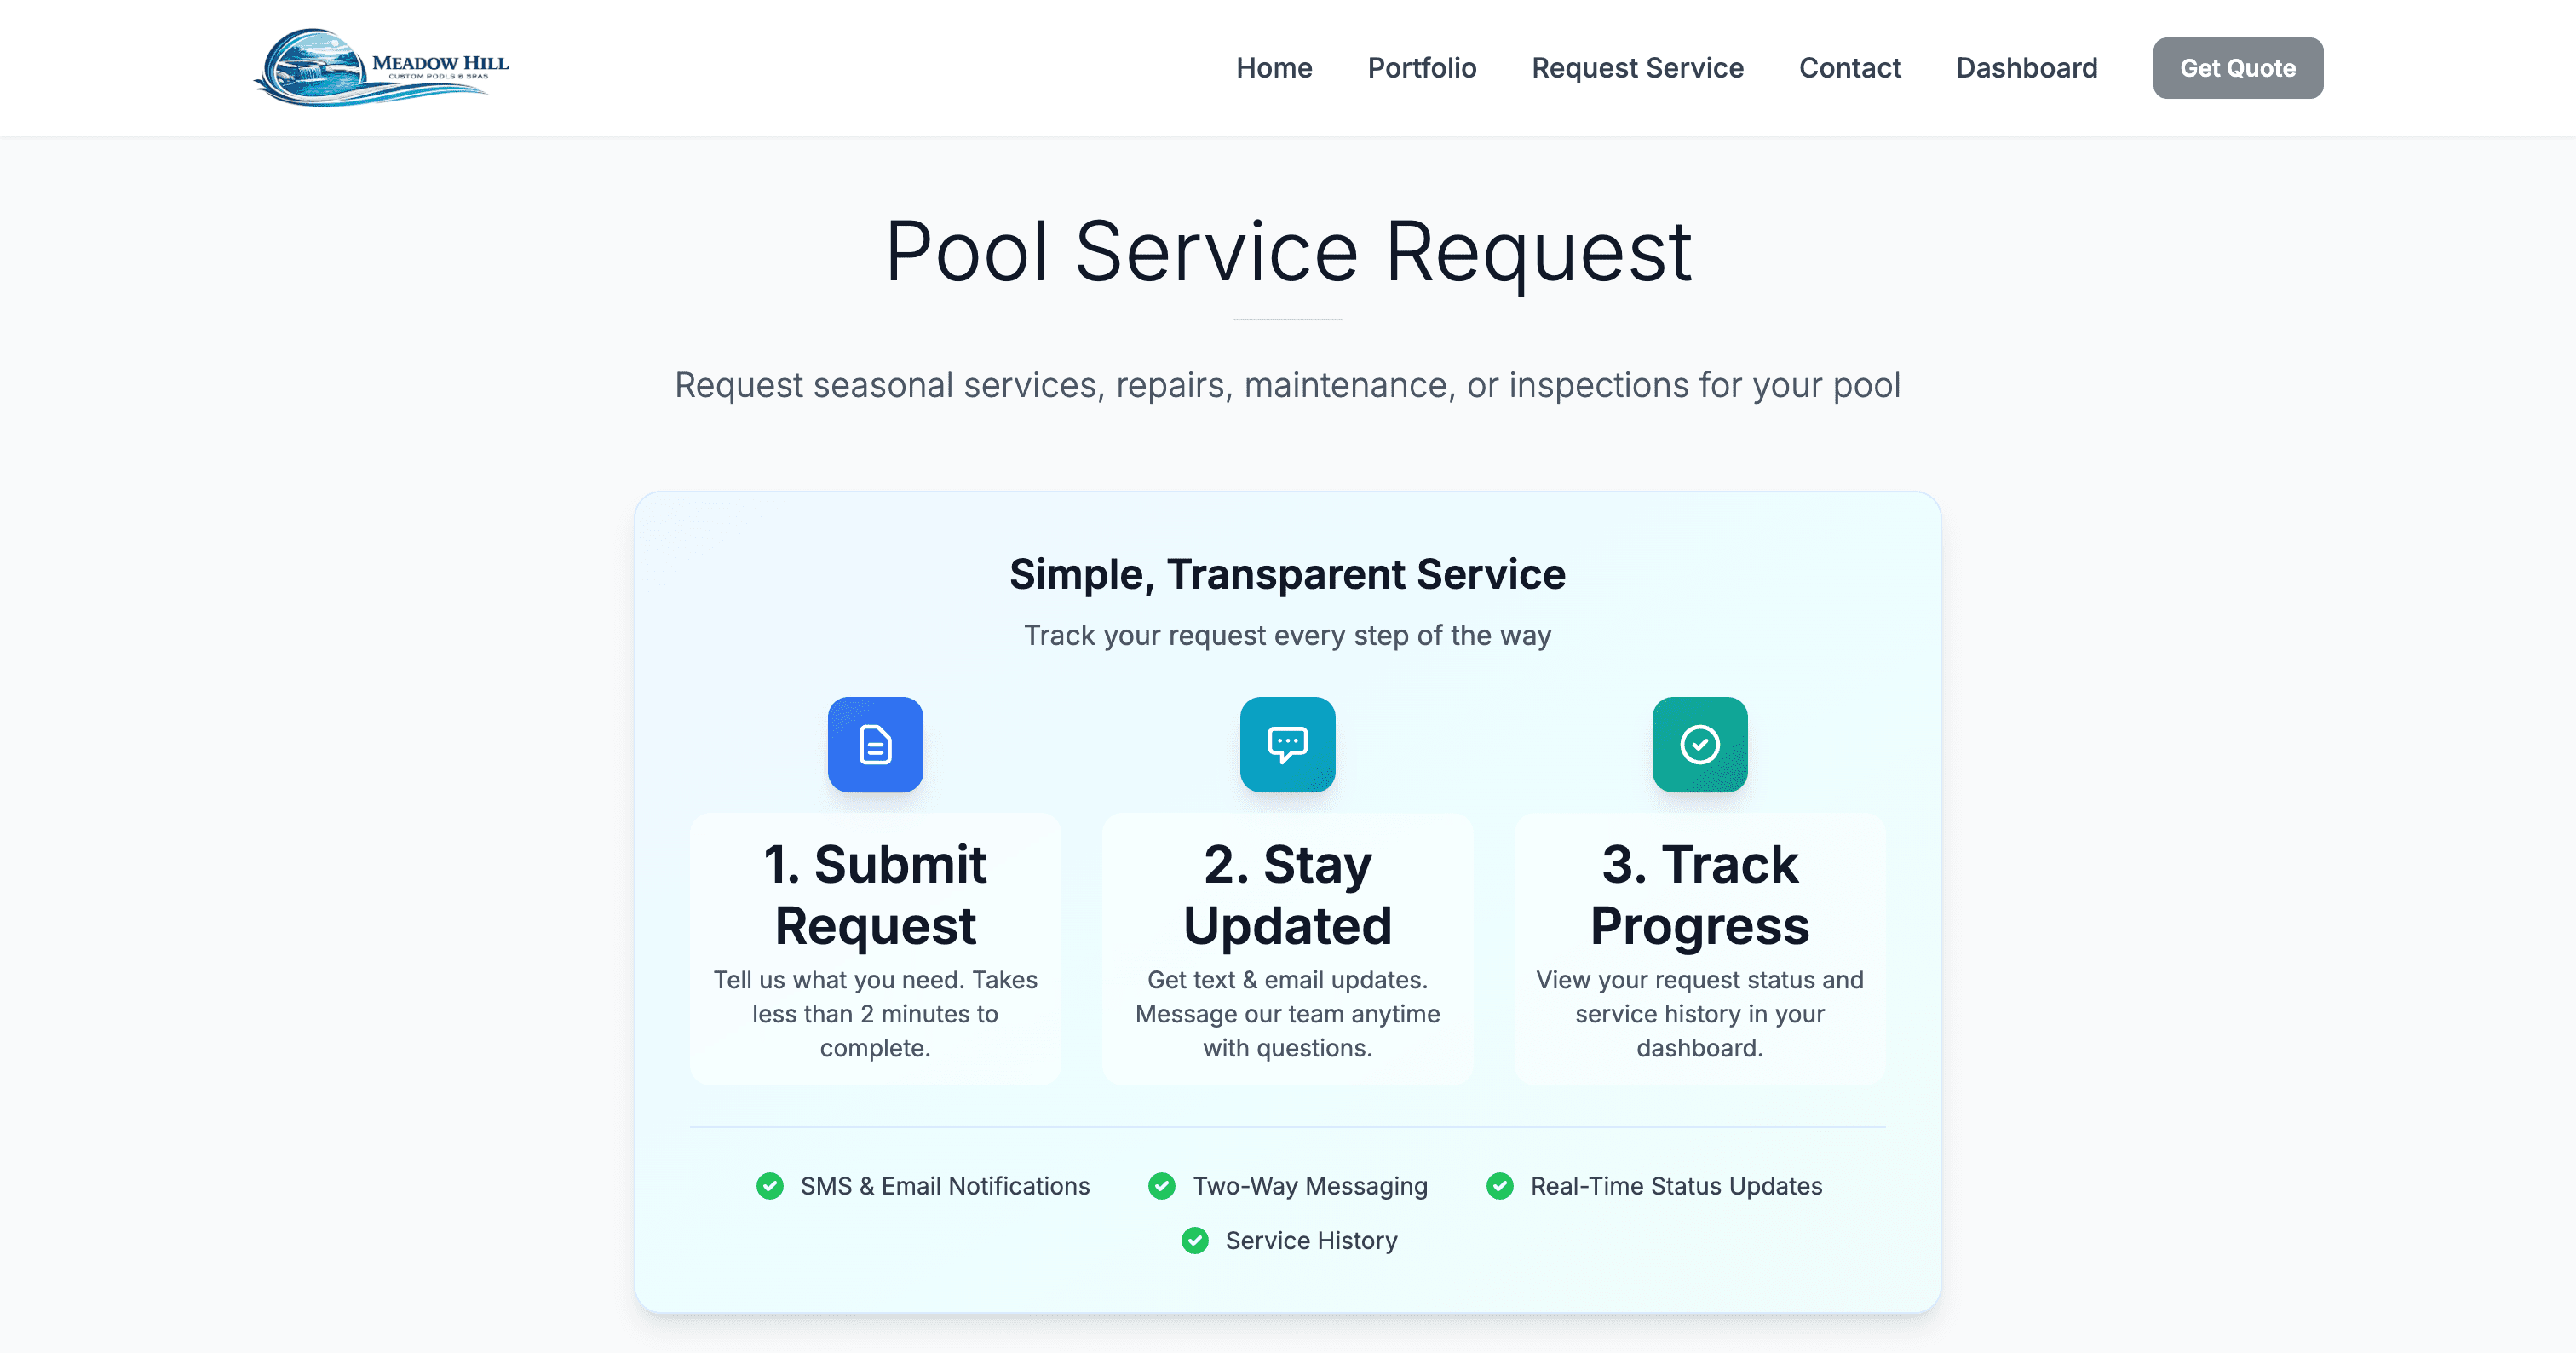
Service Request Form - Top section showing "How It Works" and service type dropdown
Step 2: Select Service Type and Enter Details
Choose the type of service you need from the dropdown. Options include:
- Spring Opening or Winterization (seasonal services)
- Heater Repair or Installation
- Leak Repair
- Equipment Repair or Replacement
- Pump Repair
- Filter Service
- Automation Issues
- Water Chemistry Service
- Cleaning Service
- Pool Inspection
- Other (with description field)
Step 3: Fill in Service Address
Enter the complete address where the service will be performed. This includes street address, city, state, and ZIP code. Make sure the address is accurate so our team can find your location easily.
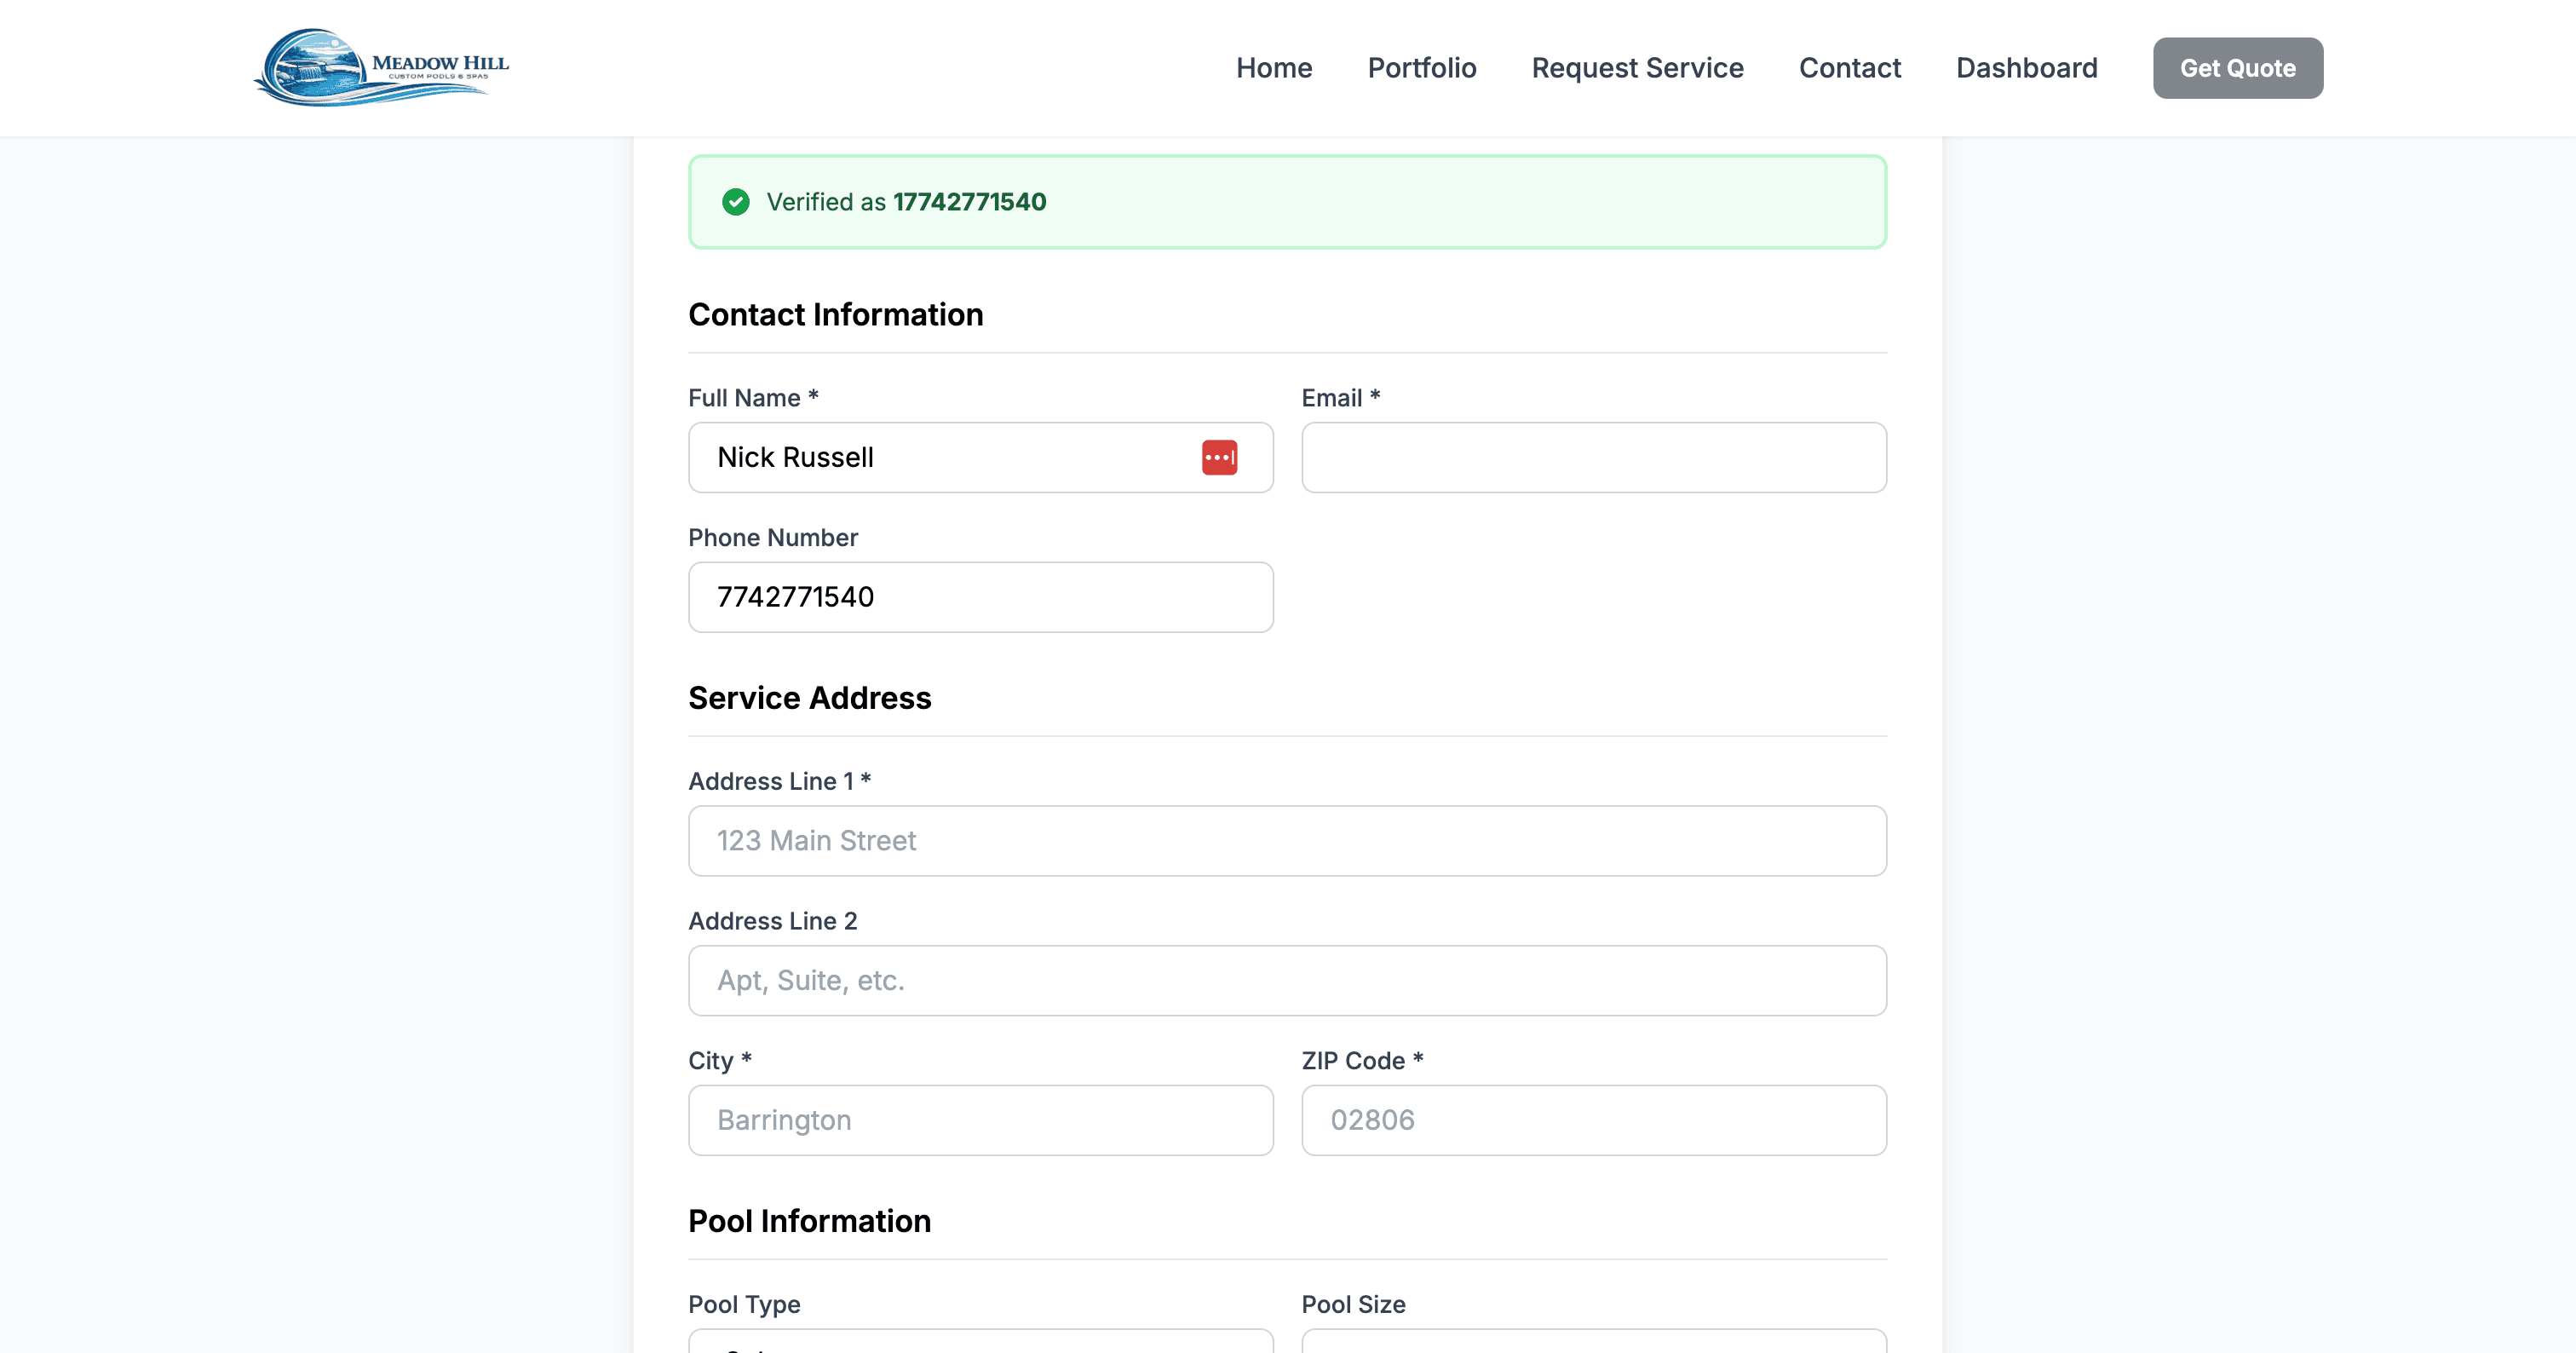
Service Request Form - Address input fields
Step 4: Provide Pool Information
Tell us about your pool or spa. Select the pool type (in-ground or above-ground), approximate size, and check any boxes that apply:
- Pool has a heater
- Pool has a cover
- Pool has automation system
You can also add special instructions, access notes (like gate codes), or equipment notes to help our team prepare for the service visit.
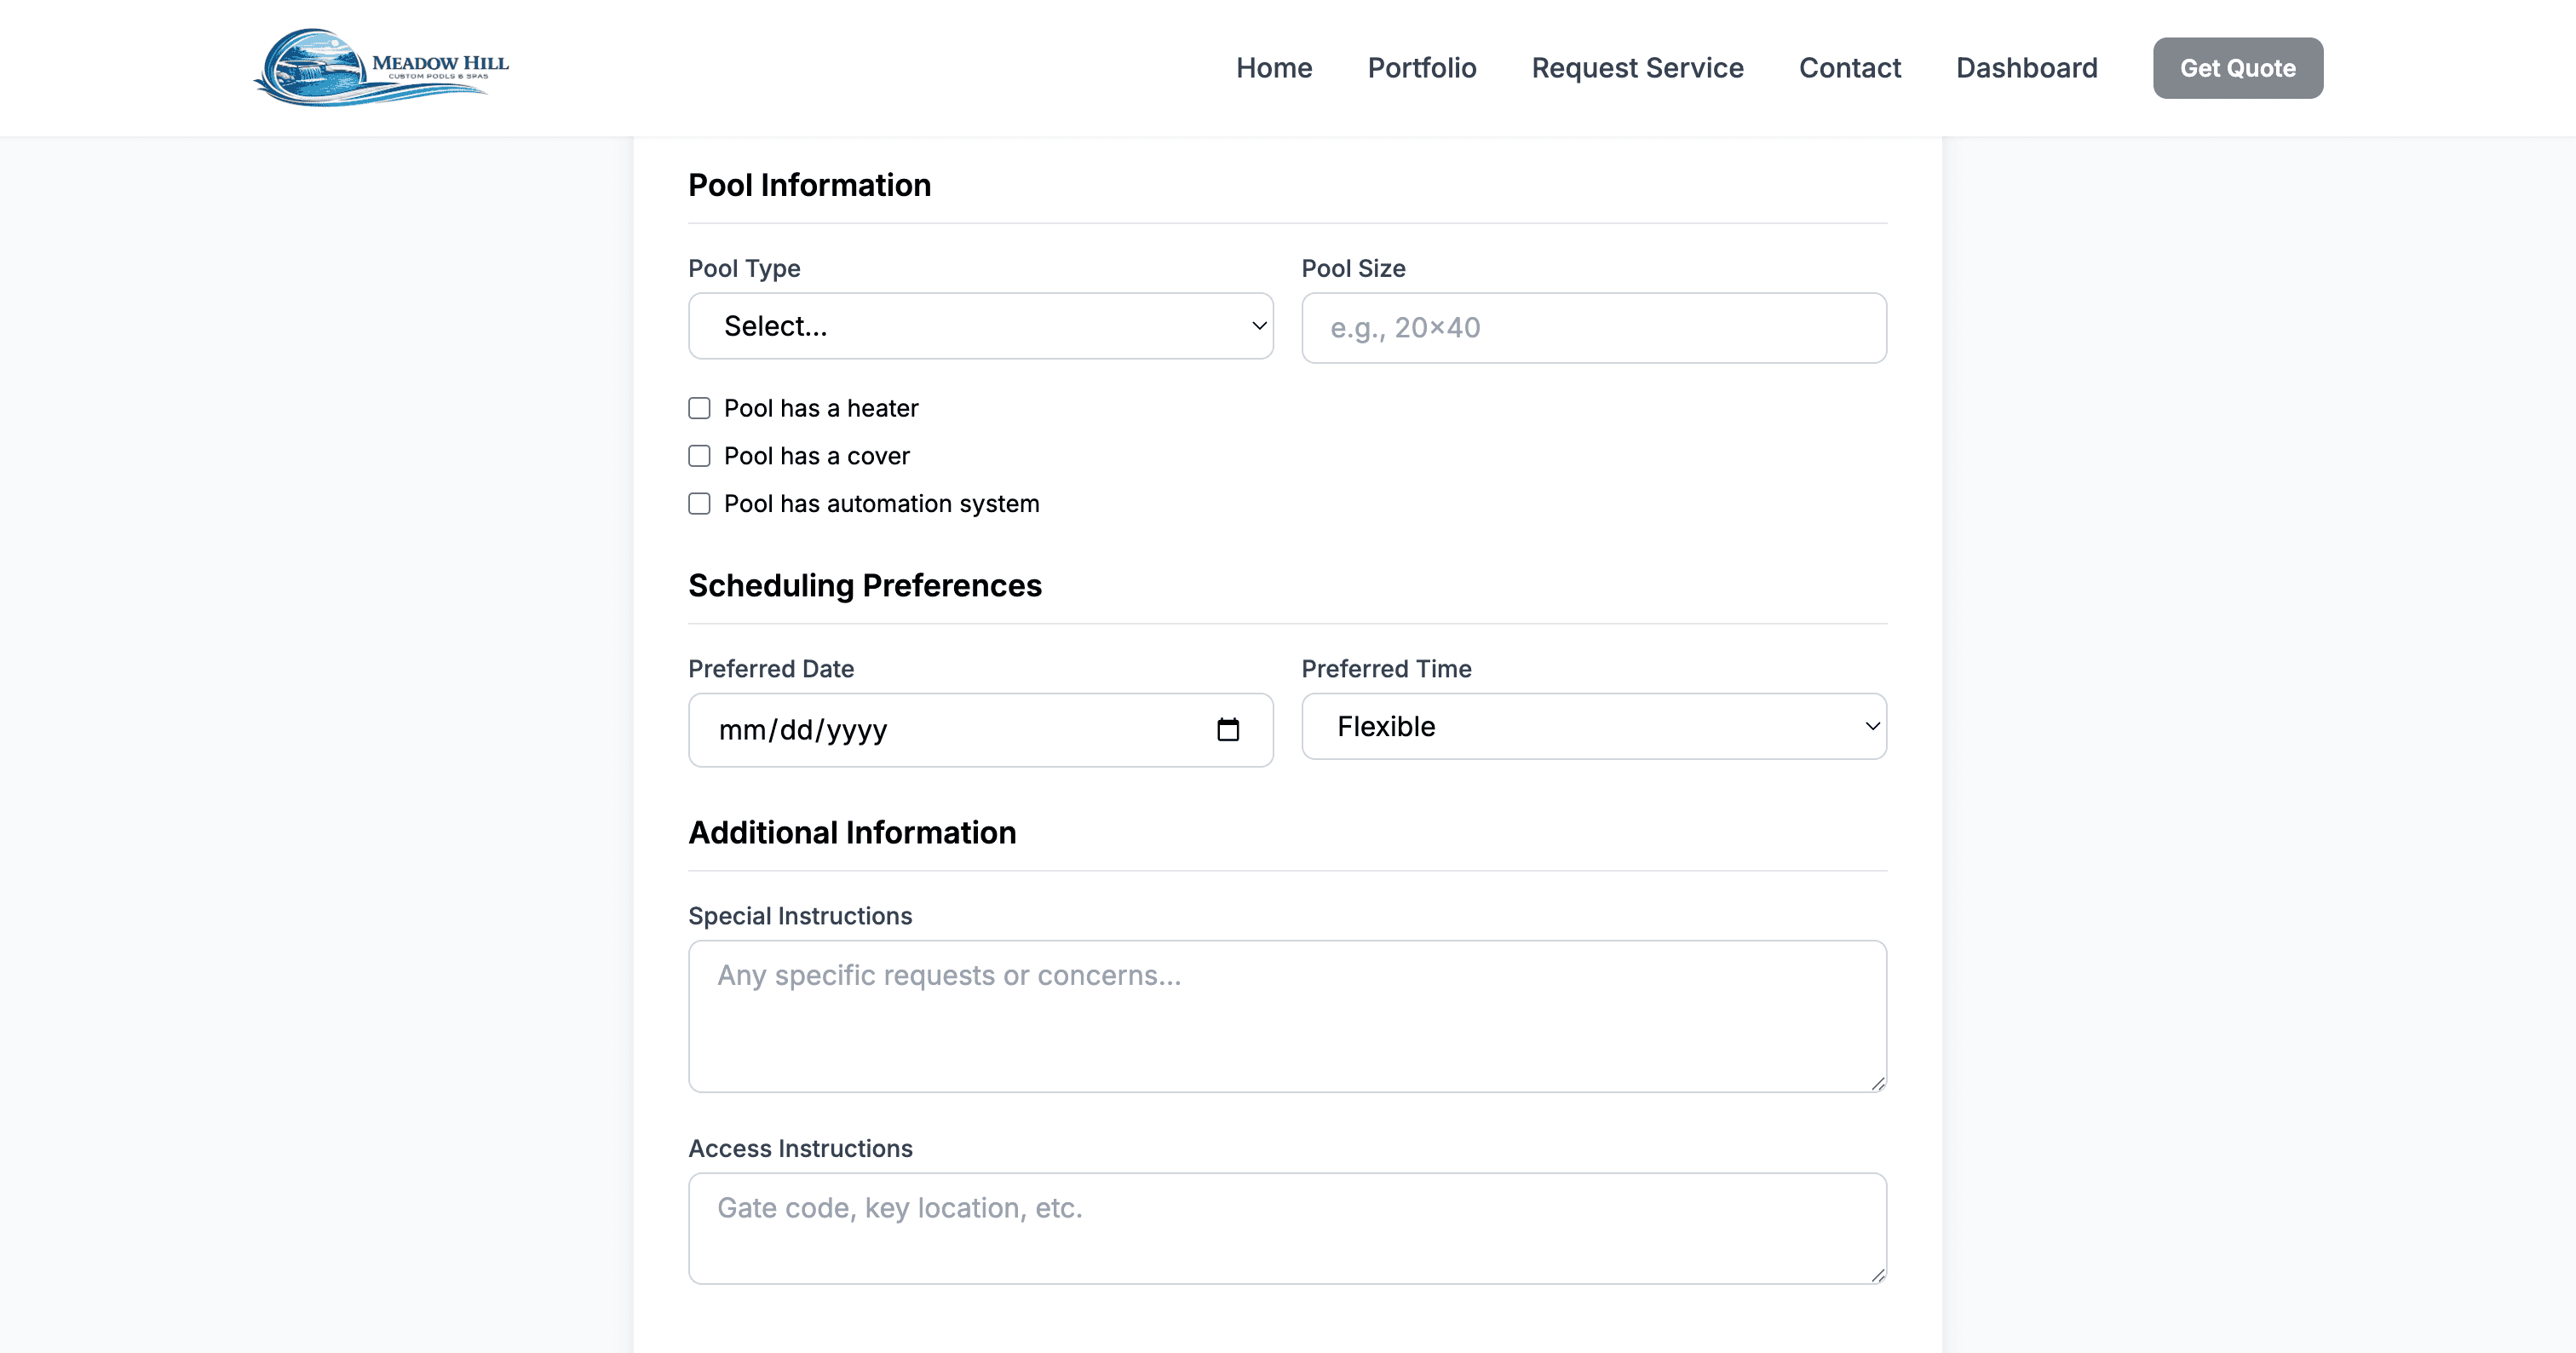
Service Request Form - Pool information and equipment checkboxes
Step 5: Submit Your Request
Once you've filled out all the required fields, click the "Submit Request" button. You'll receive a confirmation, and the request will appear in your dashboard. Our team will review it and respond soon.
Tip: The more details you provide, the better we can prepare for your service call. Don't hesitate to include photos or detailed descriptions in your message after submitting!
Viewing Your Requests & Communicating with Our Team
Once you've submitted a service request, you can view its status, details, and communicate with our team using the built-in messaging system. Here's how:
Step 1: View Your Request
Go to your dashboard and find your service request in the list. Each request shows its status (Pending, Scheduled, In Progress, or Completed), the service type, and when it was submitted. Click the "View Details & Messages" button to open the full request details.
Step 2: Review Request Details
On the request detail page, you'll see all the information you submitted, including the service address, pool information, and any special instructions. You'll also see the current status with a color-coded badge, and if the service has been scheduled, you'll see the scheduled date and time.

Service Request Detail Page showing request number, status, and information cards
Step 3: Use the Messaging System
Scroll down to the "Communication" section at the bottom of the request detail page. Here you'll see all messages exchanged between you and our team in chronological order. Messages are color-coded:
- Blue boxes: Messages from our team members
- Gray boxes: Your messages
Each message shows who wrote it and when it was sent, so you can easily follow the conversation history.
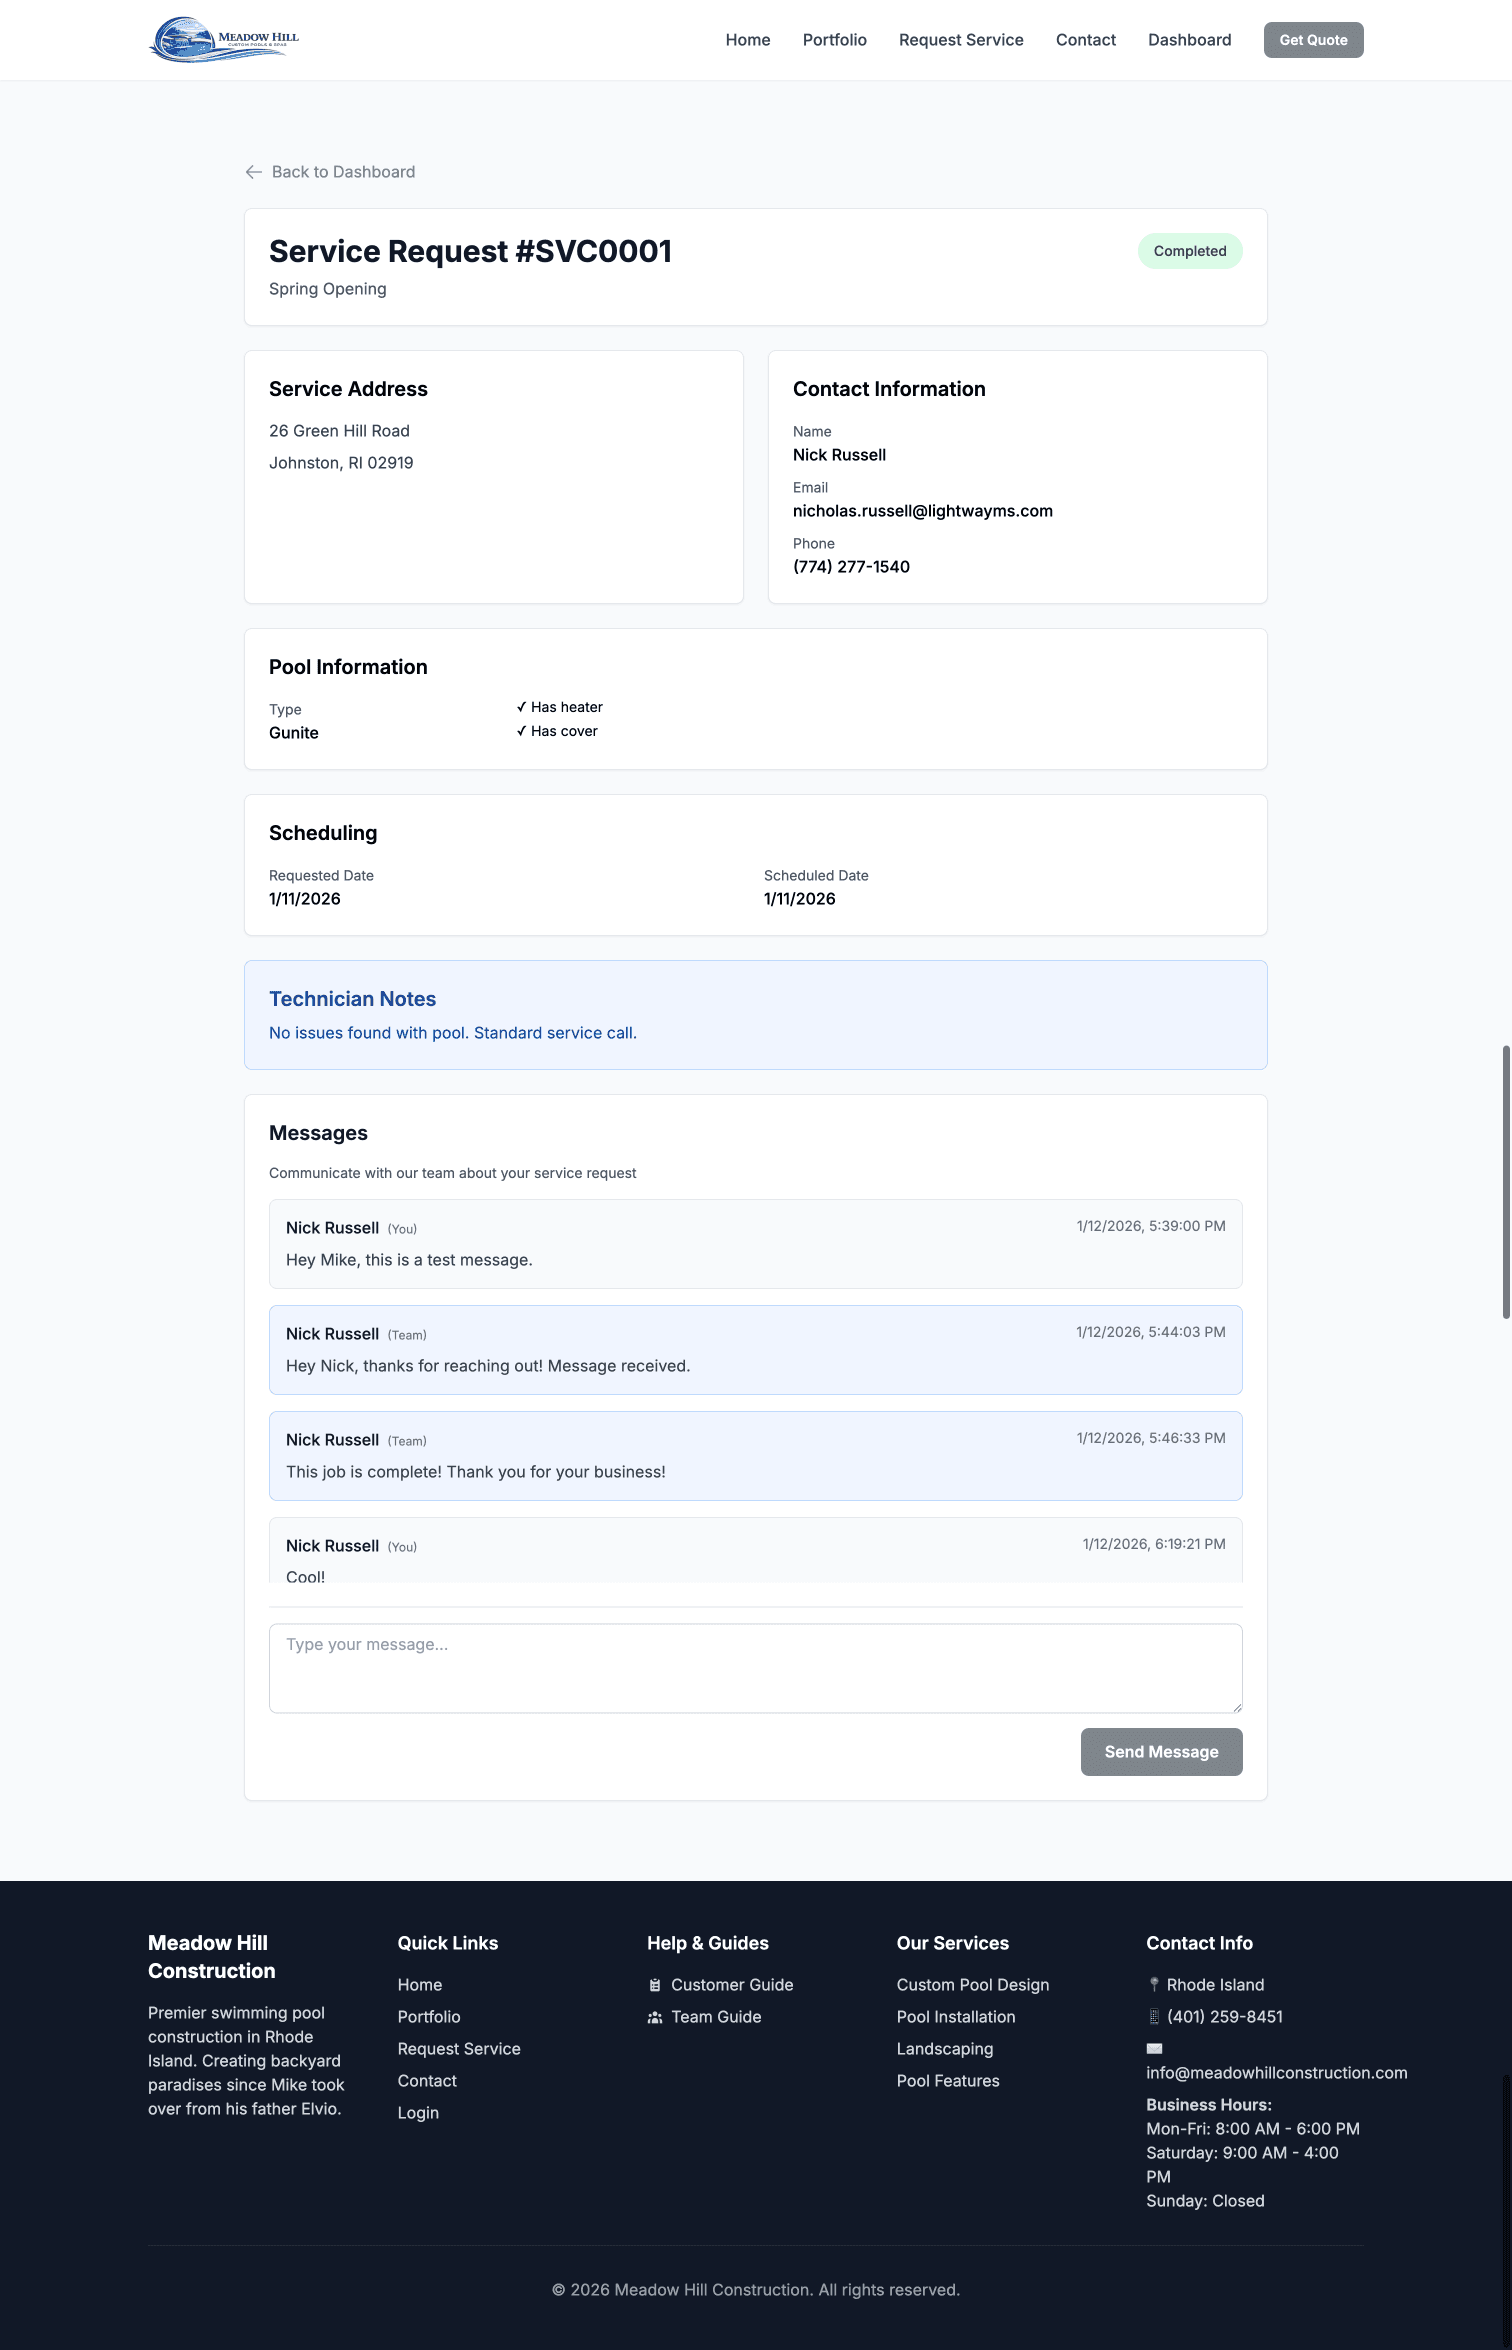
Messaging interface showing conversation with color-coded messages
Step 4: Send a Message
To send a message to our team, type your message in the text area at the bottom of the Communication section. You can ask questions, provide additional information, request updates, or share photos. When you're done, click the "Send Message" button. Your message will be added to the conversation and our team will be notified.
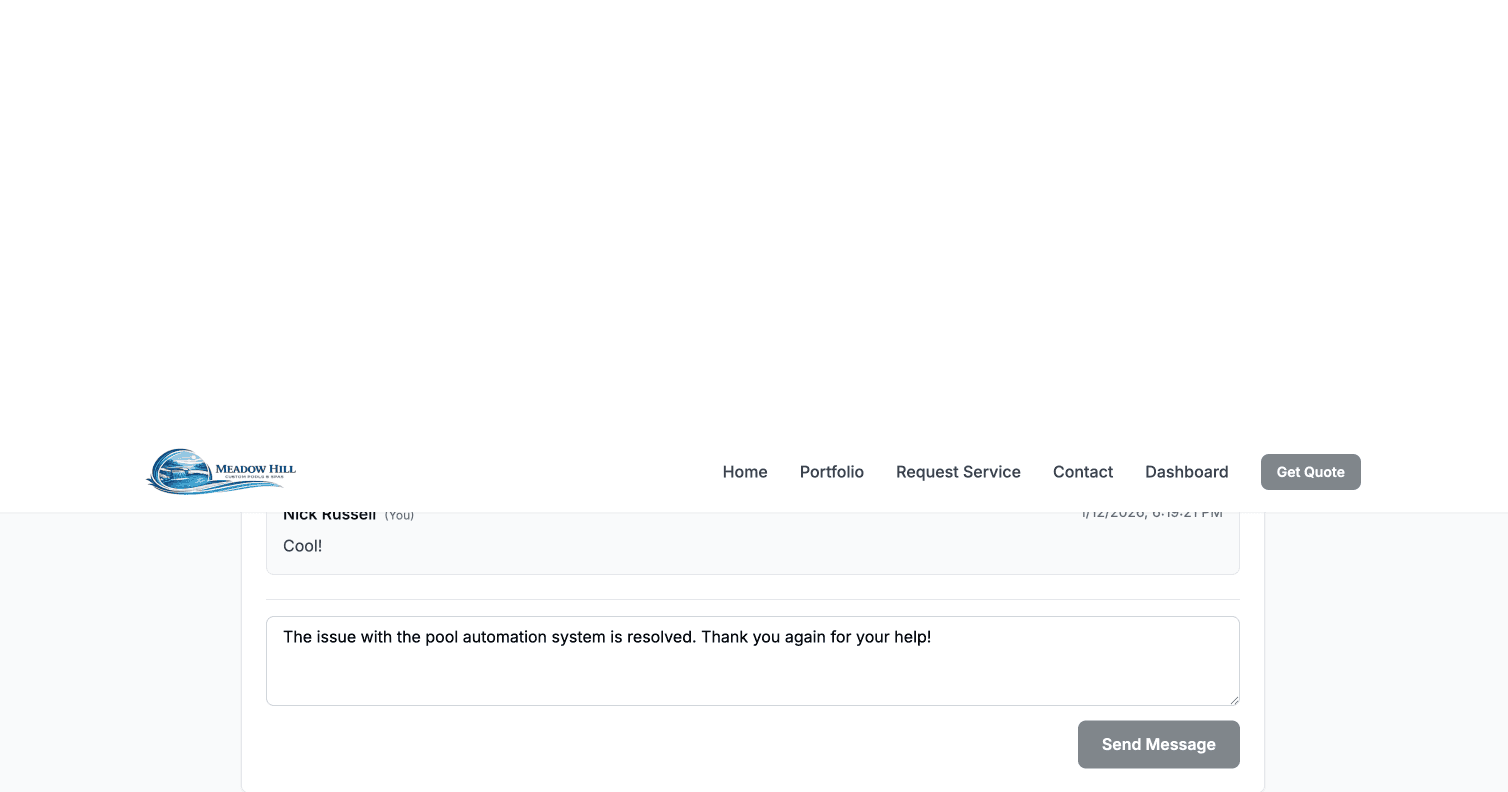
Message input area with text and Send Message button
Note: Our team may add internal notes that you won't see - these are for coordination between team members. All messages you see are specifically intended for you!
Your Dashboard
Dashboard Overview
Your customer dashboard is your central hub for managing all your interactions with us. After logging in, you'll be taken to your dashboard where you can see everything at a glance.
What You'll See on Your Dashboard
- Welcome Message: Personalized greeting with your name
- Quick Actions: Button to quickly request a new service
- Service Requests: List of all your current and past service requests
- Pool Proposals: Any proposals we've created for you (if applicable)
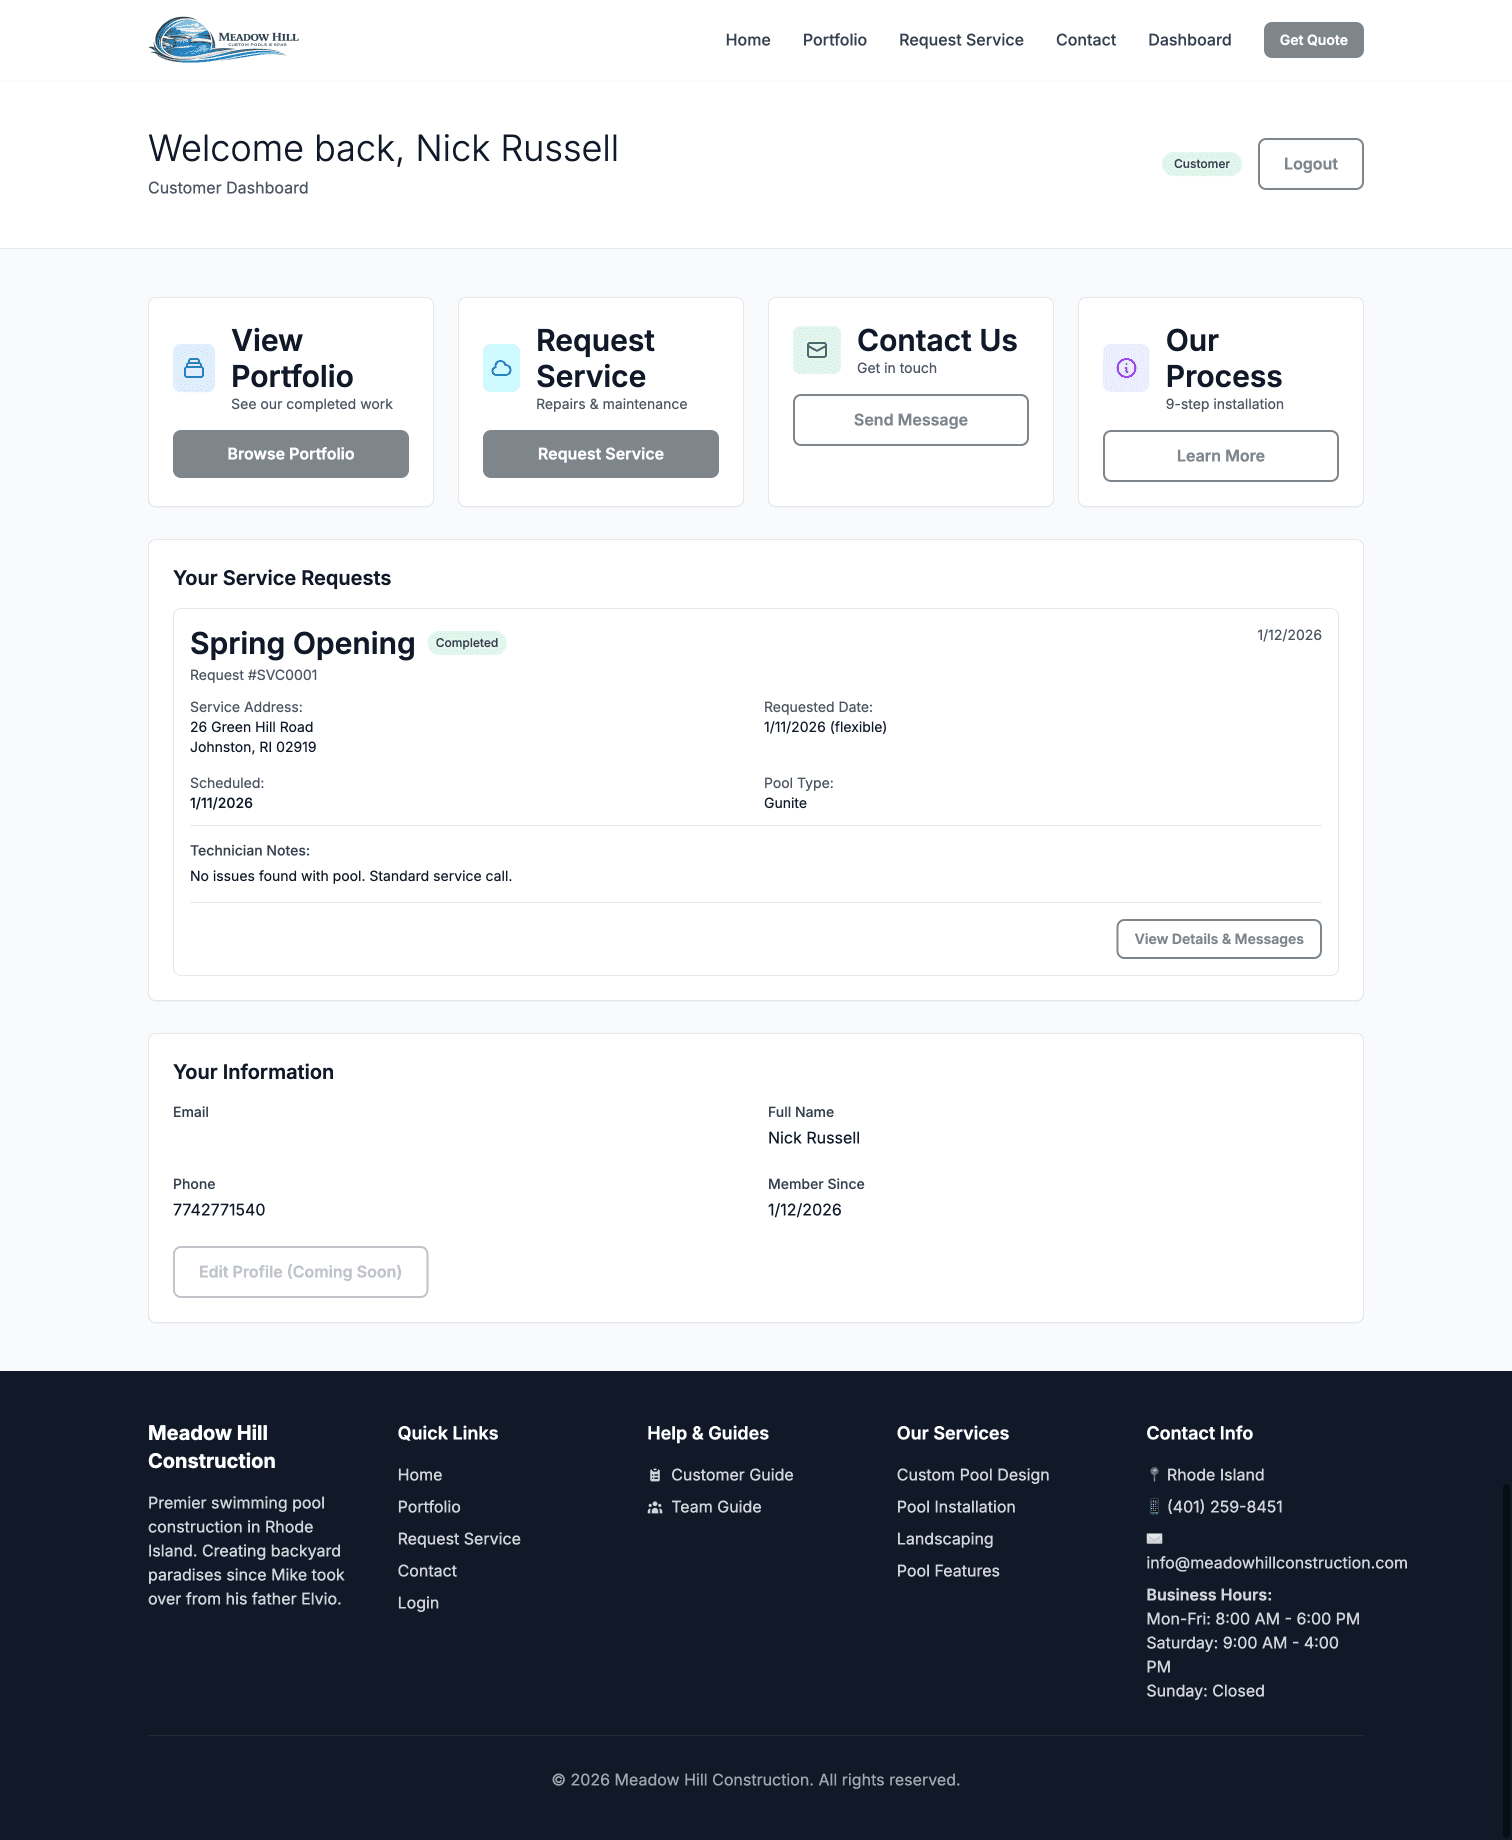
Customer Dashboard with welcome message, quick actions, and service requests
Understanding Service Request Cards
Each service request appears as a card on your dashboard. These cards provide quick information at a glance:
- Request Number: Unique identifier (e.g., SR-2024-001)
- Status Badge: Color-coded badge showing current status
- Yellow = Pending (awaiting review)
- Blue = Scheduled (date/time set)
- Purple = In Progress (actively being worked on)
- Green = Completed
- Service Type: What service was requested
- Date Information: When submitted or when scheduled
- View Details Button: Click to see full details and messages

Service Requests section showing request cards with status badges
Tip: Check your dashboard regularly for updates on your service requests. When our team responds to your messages or updates your request status, you'll see it here!
Pool Proposals
Viewing Pool Proposals
If you've requested a quote for a new pool installation or major renovation, our team will create a detailed proposal for you. This proposal is created externally and shared with you via a unique link sent by email or text message.
What's Included in a Proposal
When you open your proposal link, you'll see a comprehensive document that includes:
- Header with Company Information: Our company name, contact details, and your proposal number
- Customer Information: Your name, address, and contact details
- Pool Specifications: Detailed specs for the proposed pool including:
- Pool type (in-ground, above-ground, etc.)
- Dimensions and capacity
- Materials and finishes
- Equipment included (pumps, filters, heaters, etc.)
- Special features (lighting, waterfalls, automation, etc.)
- Scope of Work: What's included in the installation
- Timeline: Estimated project duration and key milestones
- Warranty Information: What's covered and for how long
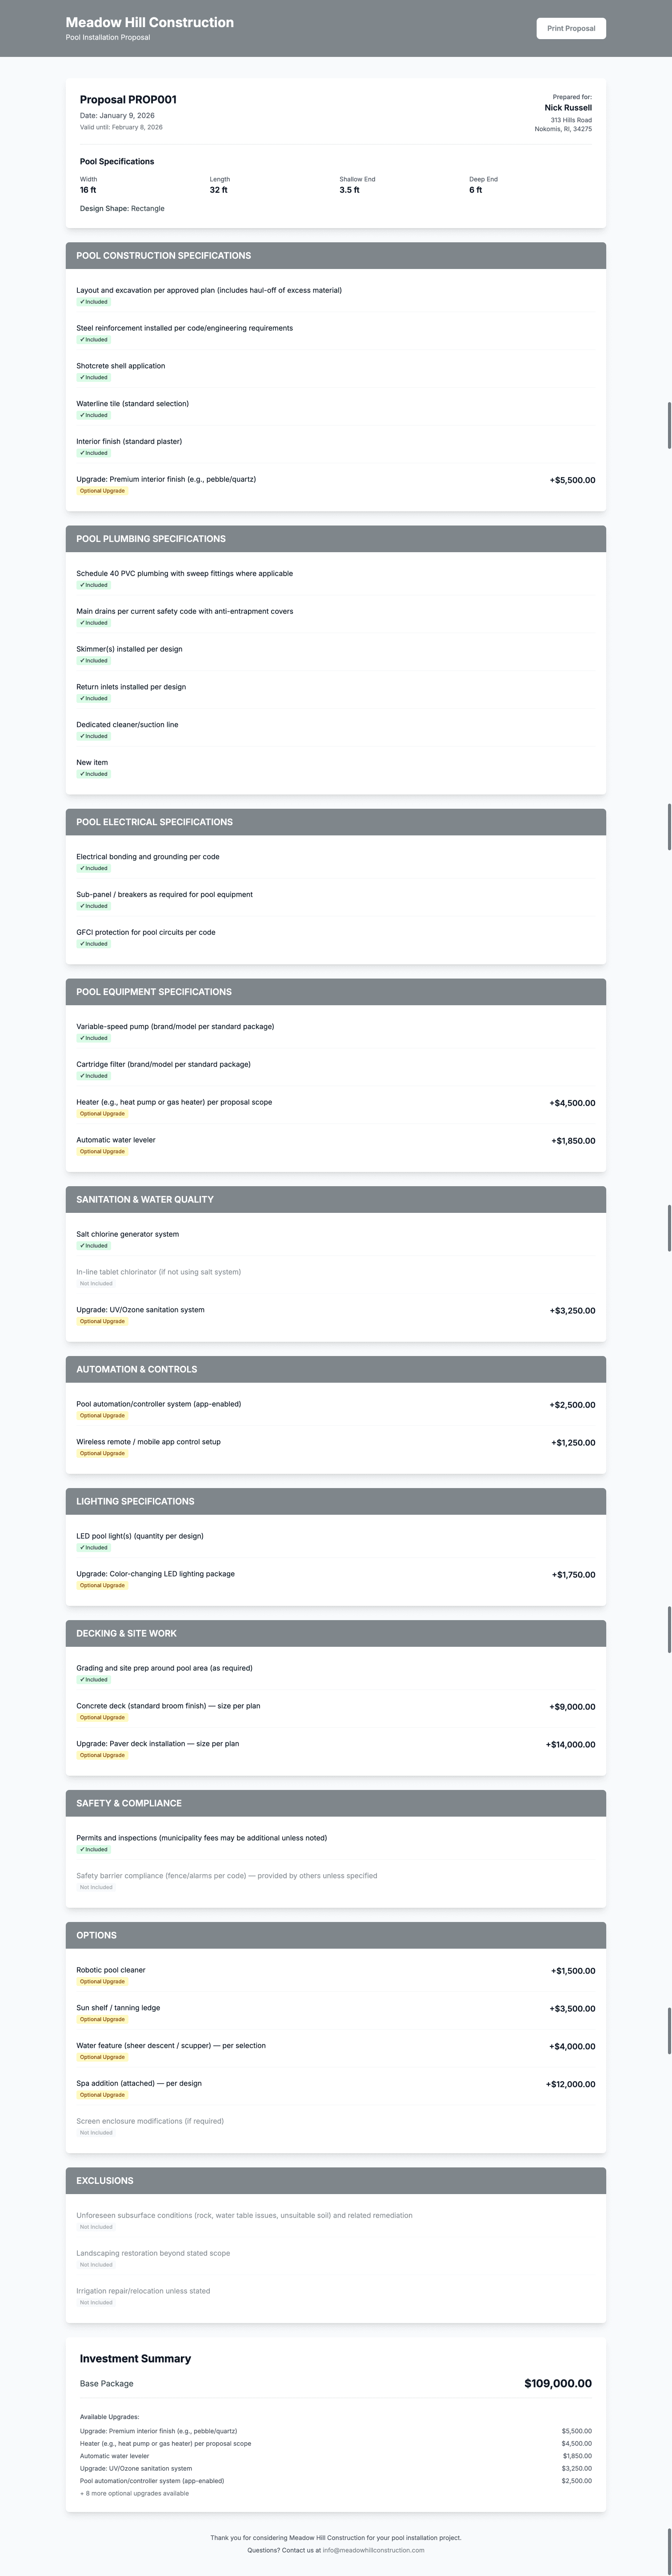
Pool Proposal showing header, customer information, and pool specifications
Understanding the Pricing Breakdown
The proposal includes a detailed pricing section that breaks down all costs. This helps you understand exactly what you're paying for. You'll see:
- Line Items: Individual cost for each component or service
- Pool shell and excavation
- Equipment and installation
- Decking and landscaping
- Additional features
- Permits and fees
- Subtotal: Sum of all line items before tax
- Tax: Applicable sales tax
- Total Amount: Final price prominently displayed

Proposal pricing breakdown with line items, subtotal, tax, and total
Questions About Your Proposal?
If you have questions about any aspect of your proposal, don't hesitate to reach out. You can call us, email us, or submit a service request asking for clarification. We're happy to explain any details or discuss modifications to the proposal.
Note: Proposals are valid for 30 days from the date of creation. After that, pricing may need to be updated based on current material costs and availability.
Need Help?
We're Here to Help
If you have any questions or need assistance with the customer portal or any of our services, our team is ready to help. Don't hesitate to reach out!
Call Us
(401) 259-8451
Mon-Fri: 8AM - 6PM
Sat: 9AM - 4PM